Build a locator in minutes.
Learn core practices for building locators that help users find stores, products, branches, ATMs, and more.
Implementation Guide
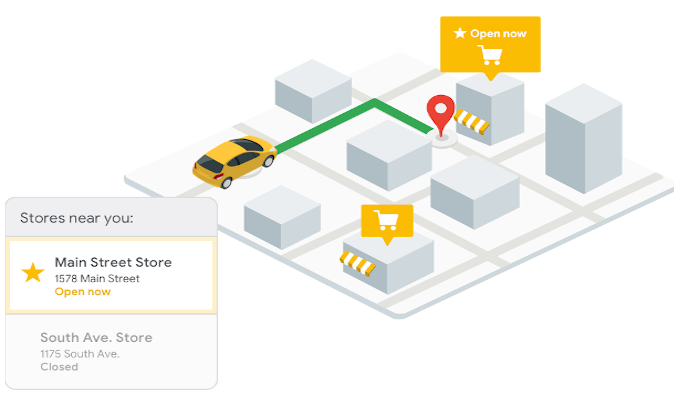
Locator Plus implementation guide
Understand how various Google Maps Platform APIs can work together to help your customers find nearby places faster.
Implementation Guide
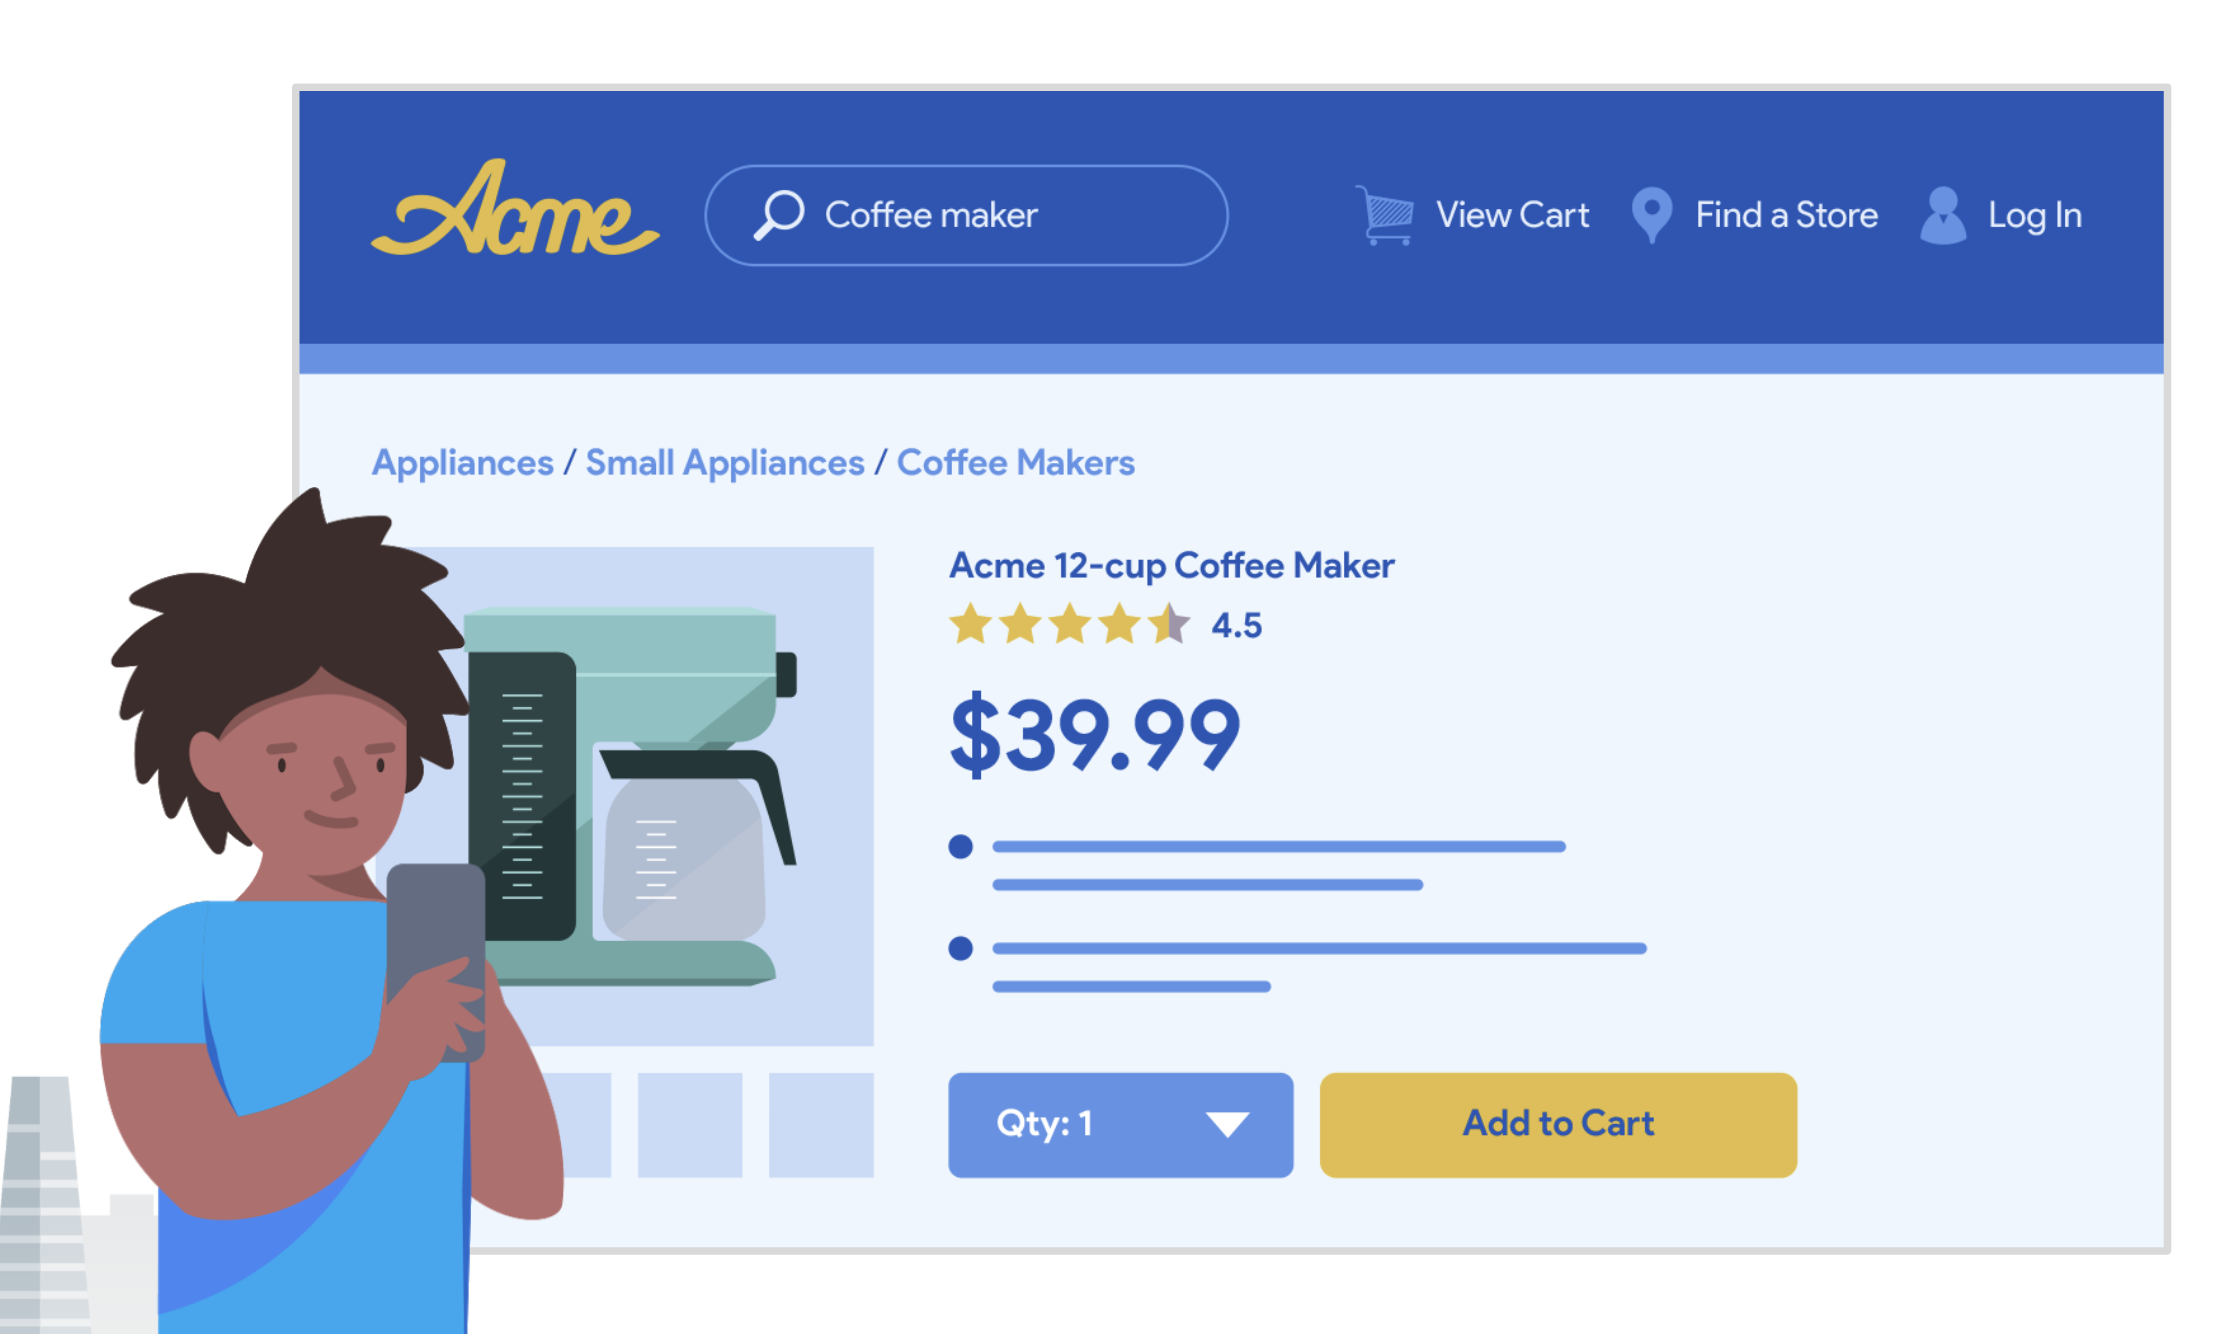
Product Locator implementation guide
Understand how various Google Maps Platform APIs can work together to help your customers find nearby products faster.
Codelab
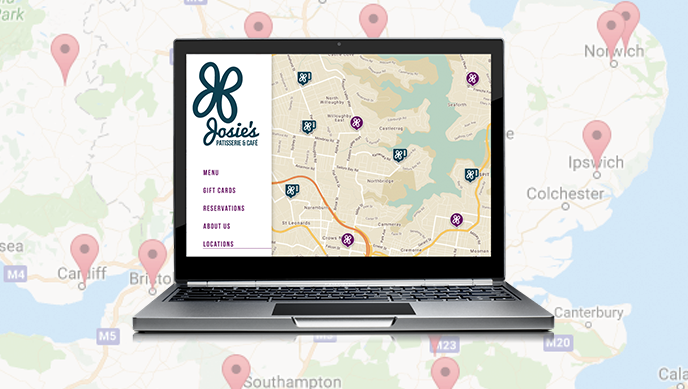
Simple Store Locator
This codelab walks you through a purely front end implementation of a store locator for a fictitious business. Use the Maps JavaScript API, Place Autocomplete, and Distance Matrix with GeoJSON to show nearby locations of a cafe and restaurant chain in an interactive web map.
Codelab
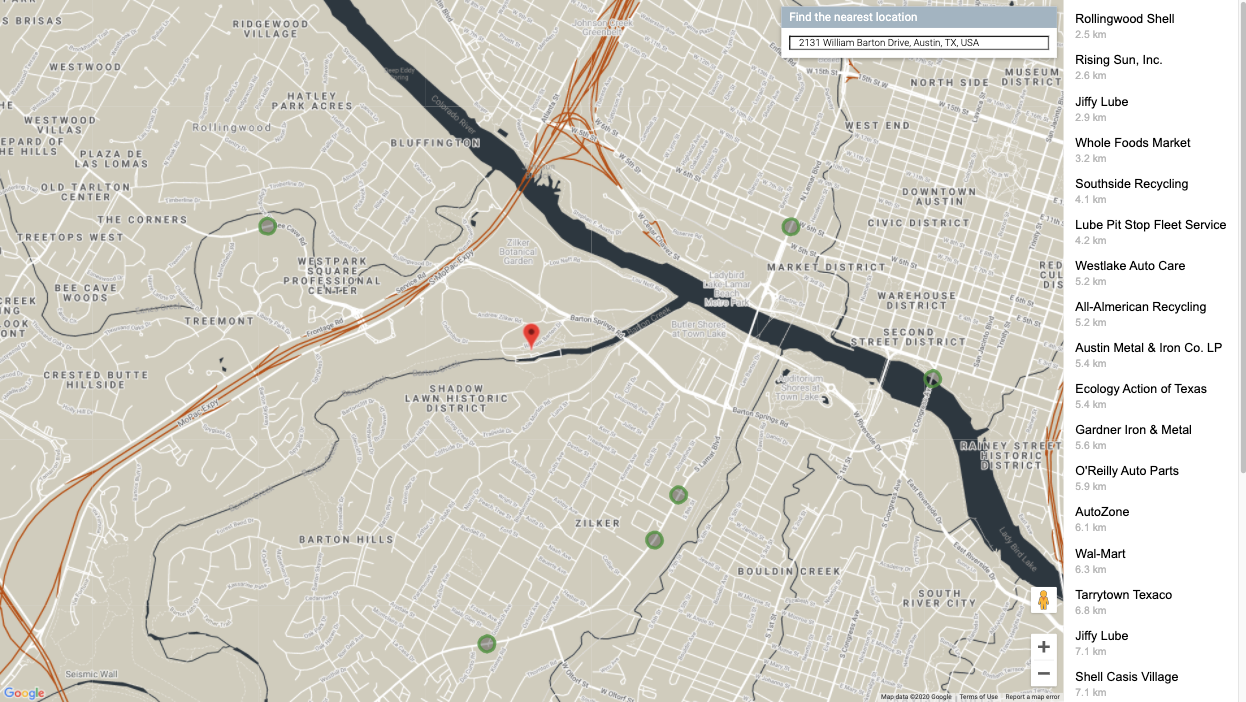
Full Stack Store Locator
This codelab teaches how to pull information from the server to determine the closest locations from a large database. Use Go, Cloud SQL, AppEngine, Maps JavaScript API, Place Autocomplete, and Distance Matrix to help users find nearby recycling locations on an interactive map.